


Find your way around the application and quickly start running your first billing session and create your first invoice using the pre-configured sample data.
1. The Aim
The aim of this section is to:
- Introduce the user to how TelecomBilling.Net’s user interface is organised
- Create your first invoice using the sample data:
2. Introduction
This part of the guide will enable you to quickly understand how Dynasoft TelecomBilling.Net is organised and designed.
A set of training and demo videos has also been produced to aid the user further in getting up-to-speed with TelecomBilling.Net. These are available here.
The language for the application can be changed in the Configuration page, Settings menu, first tab, ‘Language’ drop-down menu near the end of the page. This language setting can be overridden for each logged-in user by going to their user account at the top left-hand corner of your Telecom billing and management system above the main menu. Click on your name. Furthermore, the language used on the contacts’ transactions can also be set inside their account, under option 2.A.4.
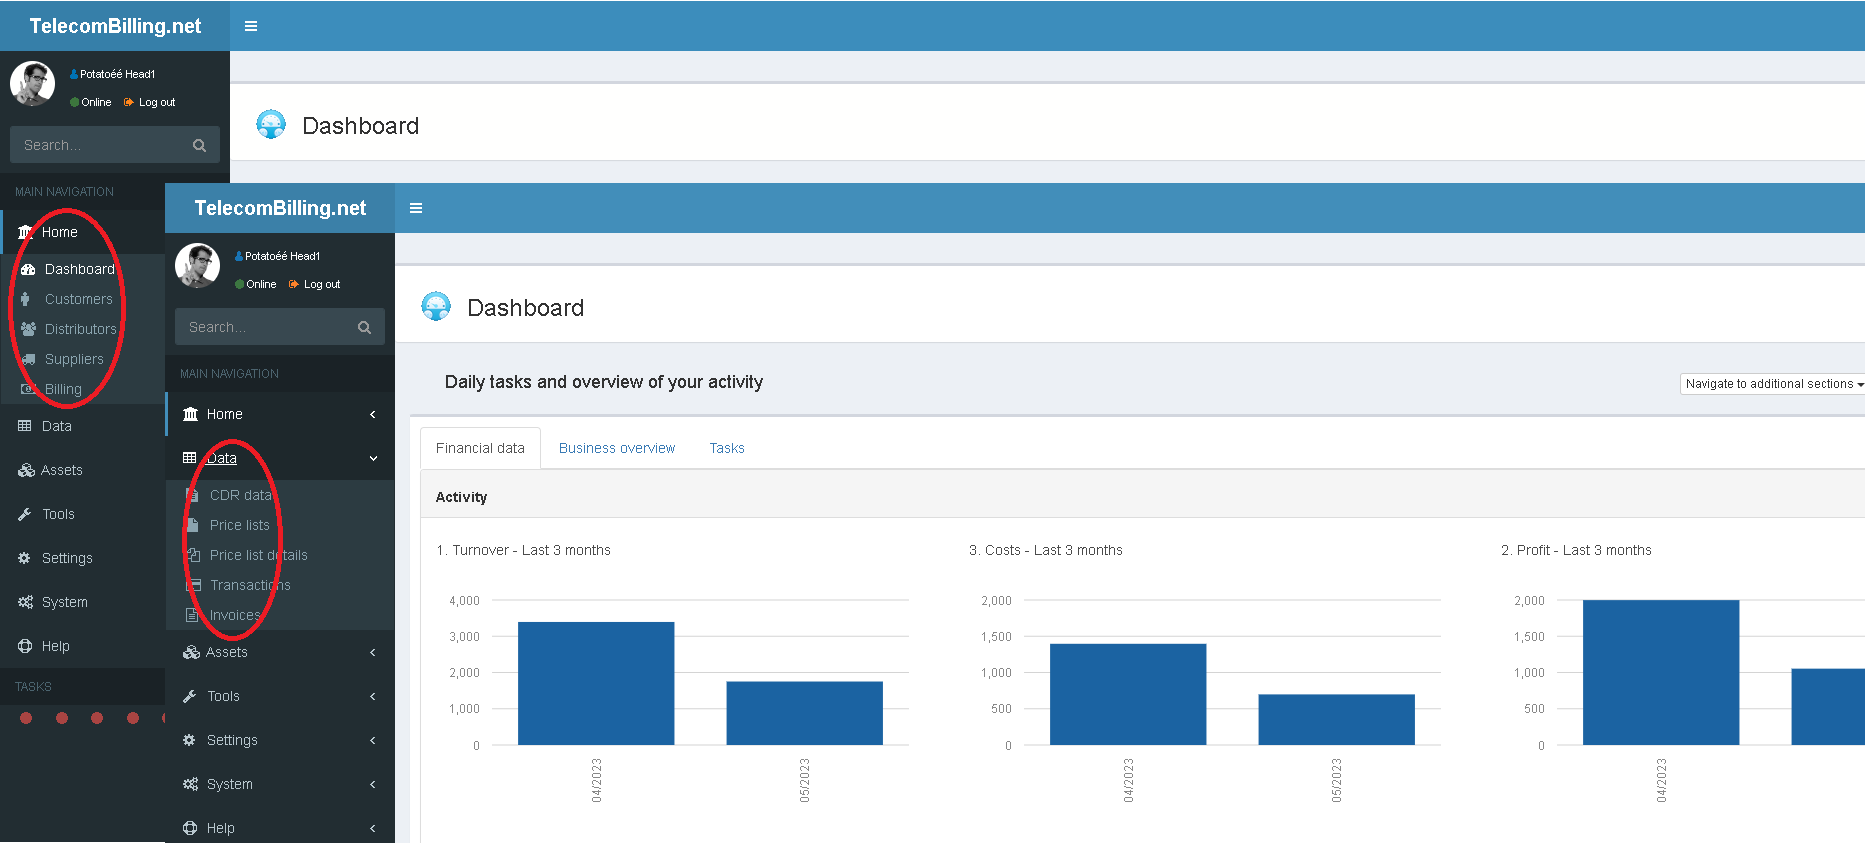
There are a number of sub-menu items in the Home and Data menus to access the tasks involved in managing your business:
2.1. Contacts (Home menu)
This is where your contacts are accessed from: Customers, distributors and suppliers. This is also where once everything is configured billing is carried out. The top link is to go back to your ‘Dashboard’.
Contacts have their own table where each type of contact is listed. Add, modify, delete or search accounts using the controls above the main contacts tables, to the left. For instance you can open a distributor account to check all commissions owed to them based (via their ‘Transactions’ page) on pre-set commission rates (set in ‘Distributor commissions’ page). Supplier account is where supplier-specific voice/data and service CDR/SMDR/UDR formats are managed amongst other things. Items such as a contact’s bank account or credit card details are stored inside each contact’s account. ‘Transactions’ is where full billing and balances are easily checked.
2.2. Billing (Home menu)
Quickly rate CDR/SMDR/UDR data and create your customers’ invoices by specifying a number of settings and display options (via the customer options, second tab (Customers’) and the start and end dates of a billing period. CDR/SMDR/UDR data is rated by setting a start date from which to look for CDR/SMDR/UDR data.
2.3. Price lists (Data menu)
Price lists: Manage your different price lists and rate cards easily, by adding new ones, modifying/deleting existing ones, remove its A-Z data from the system, import them in the system’s database and display the A-Z data
Price lists details: Access each price list and rate card from there. Apply different actions to your destinations such as apply an uplift to selected rows. Export the selected list and rows displayed to a CSV file for publication on your Website for instance.
2.4. CDR data and Invoices (Data menu)
Access all the data generated or needed by TelecomBilling.Net. Data generated include typically invoices and the CDR/SMDR/UDR data once it has been rated by the system.
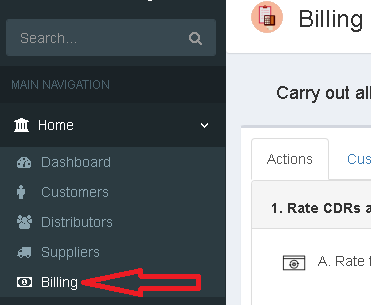
Each of these basic items can be accessed using the links given in the menu bar on the left of the main interface. See next image to see where to go in order to access the ‘Home’ and ‘Data’ menus and sub-menus.
3. Create your First Invoice using the Sample Data
3.1. The Sample Data
We have included a set configuration with Dynasoft TelecomBilling.Net so users can quickly get up to speed with using your Telecom billing and management system. This configuration includes the elements given below.
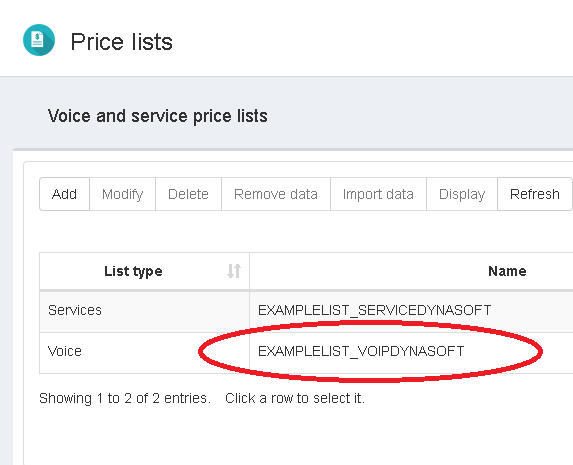
1. An example price list called ‘EXAMPLELIST_VOIPDYNASOFT’ for the voice services, available in the ‘Price lists’ page. See picture that follows.
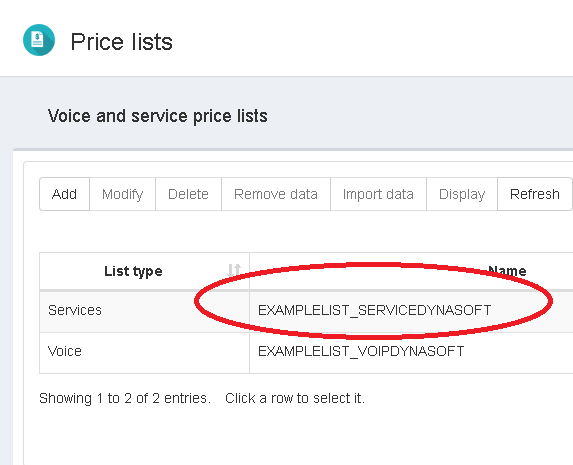
2. An example price list called ‘EXAMPLELIST_SERVICEDYNASOFT’ for the recurrent charges and services, available in the ‘Price lists’ page. See picture that follows.
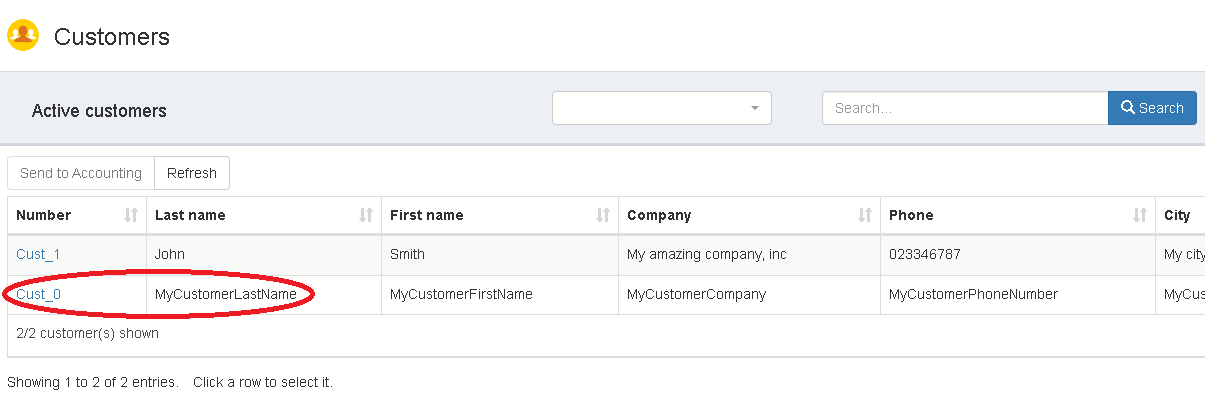
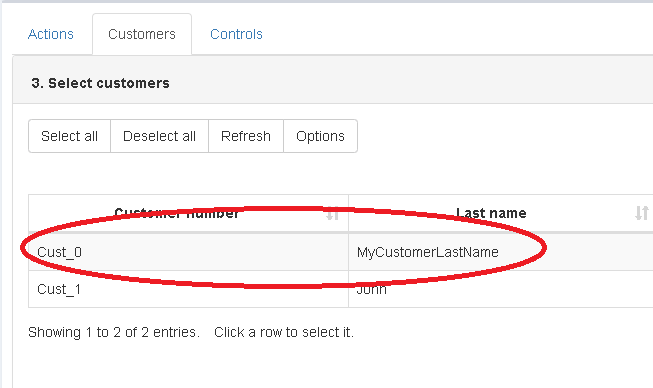
3. A customer called ‘MyCustomerLastName’ with customer number ‘Cust_0’, the access to which is done via the page ‘Customers’. Go to the drop-down menu against their name and select ‘Modify’ to access all of its data. See picture that follows.
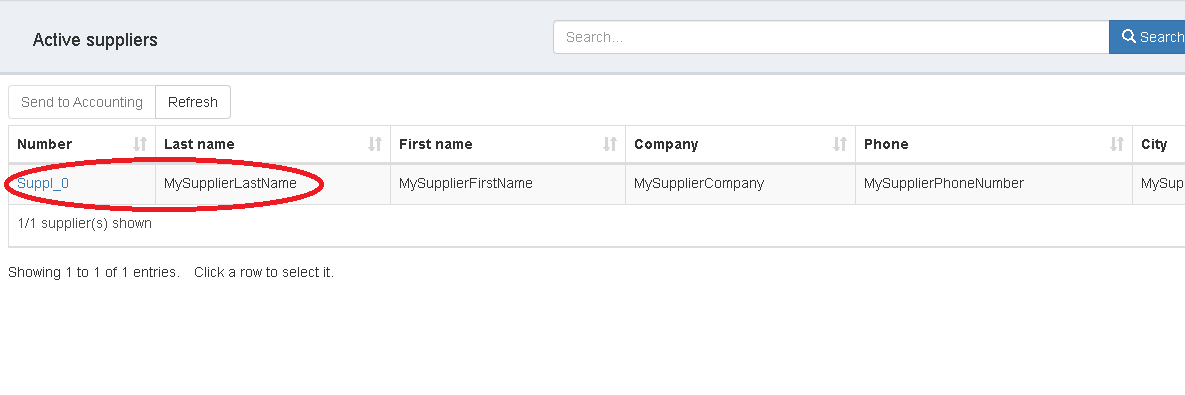
4. A supplier called ‘MySupplierLastName’, the access to which is done via the page ‘Suppliers’. Go to the drop-down menu against their name and select ‘Modify’ to access all of its data. See picture that follows.
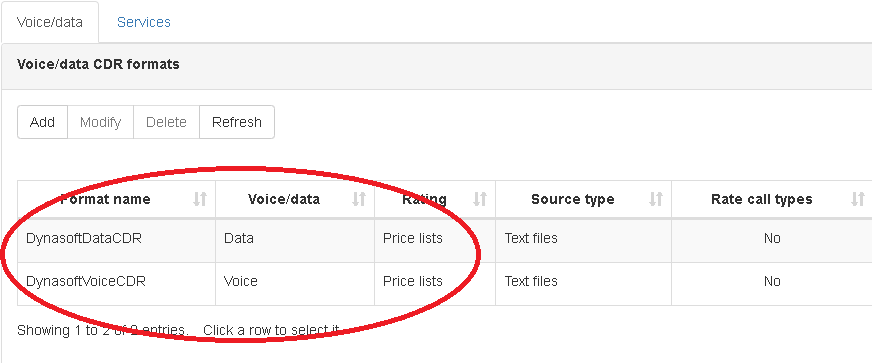
5. Default CDR formats inside a supplier account. In your supplier account, go to the drop-down menu at top right-hand corner and select ‘CDR Formats’. Here you will find three default CDR format types: one voice, one data, and one for recurrent services.
All of these three default CDR formats appear in the ‘Suppliers’ page, under their own tab under ‘CDR Formats’: Voice/Data CDR and Service CDR. See picture that follows.
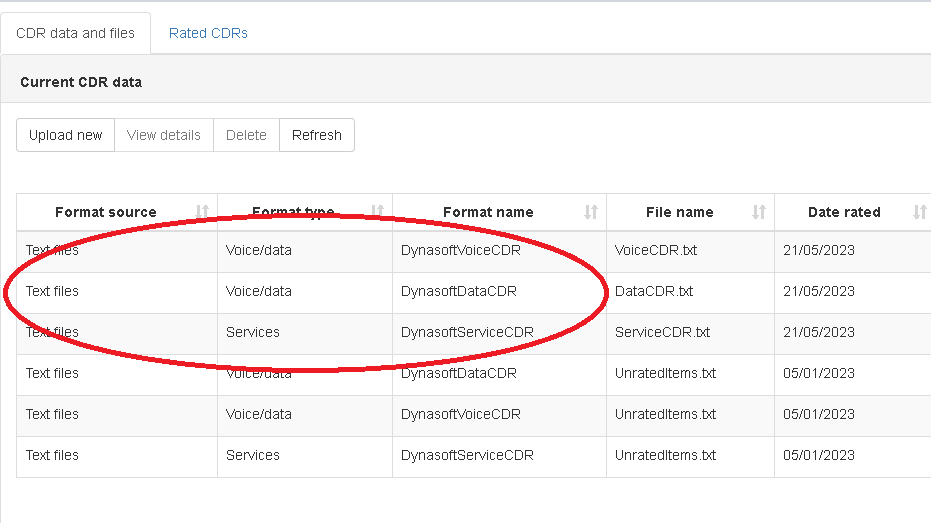
The files for these CDR formats can be accessed via the ‘CDR Data’ page under the ‘Data’ menu.
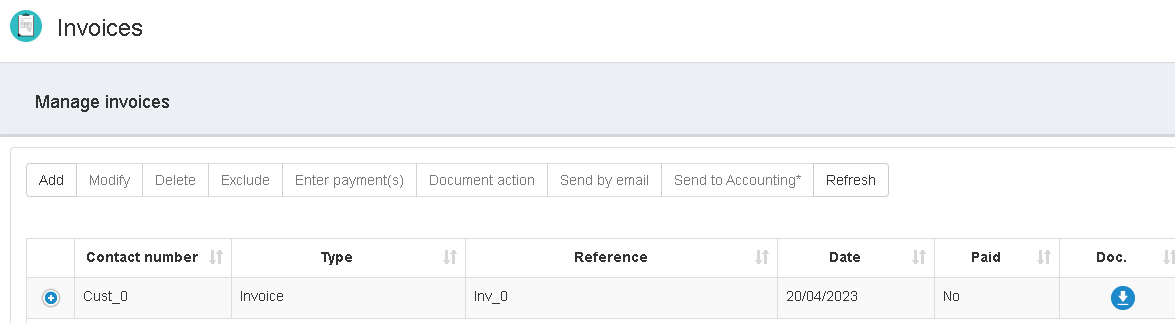
6. An invoices page where are shown once CDR data have been rated and invoices created in the ‘Billing’ page. See picture that follows.

3.2. Running the Sample Data
It only takes a minute to run your Telecom billing and management system’s default data and create your first invoice.
· Click on ‘Home’ menu > click on ‘Billing’
· Go to the tab ‘Customers’ > Select the customer ‘Cust_0’
· Go to the tab ‘Actions’, enter a start date of May 1st 2023 in the ‘A. Rate the CDR data’ and select ‘Delete all rated data and start again’

· Press the play/start button
· Once the message ‘Waiting for new CDRs…’ shows in the Messages box near the bottom of the page, click the stop button
· Move to the next section ‘B. Generate the cycle’s invoices’ and select the dates May 1st 2023 to May 31st 2023, select ‘Save the customers’ invoices’ and click the play/start button

· Once you see a message saying ‘Generating of invoices finished’, go to the the invoice which will appear under ‘Data’ > ‘Invoices’
As can be seen creating an invoice is relatively straightforward. All the tasks outlined here are done in only a handful of clicks.
Alongside rating CDRs and creating invoices, the application does the following complete process:
- Retrieve the CDR files from an FTP server
- Scan them for calls and rate the calls, then save the invoices and publish the data online
- If the Accounting add-on is purchased the system will push the invoice to Accounts
- If configured, it will push the data to a billing file (SEPA,…). See ‘Settings’ > ‘Billing files’
- The rated data and invoices are then available to your customers and distributors via their Web Access
Potentially, the application can be operated in an unmanned fashion and for real-time processing of CDRs. This is what the number given under ‘Loop CDR rating every (min.)’ shows. The application will loop every so often and run billing on any new CDR data it finds. Simply upload the CDRs that have to be analysed as seen previously and let the application analyse and handle them automatically. Or let the application download them via FTP automatically before each run of the billing process. It is also possible to pause the rating of CDRs by click the stop button and selecting the rating option ‘Resume from last CDR analysed’ in point 1.A in the ‘Billing’ page. This will ensure any old data is not rated again.
The third tab of the main tab group called ‘Controls’ enables the user to see what the application is doing in real time as it loads the voice/data and service entries (in tabs), and rates them (out tabs) for voice, data and services.
Dynasoft LTD
Copyright © 2007 – 2024